
How to Use Sealed Bearing Extractor
All extractors are size specific! If attempting to remove a bearing of a different size than the extractor, you will permanently damage or break the extractor. If the extractor is smaller than the bearing, try using a shim between the extractor and the bearing to give the tightest fit before tightening the extractor bolt.
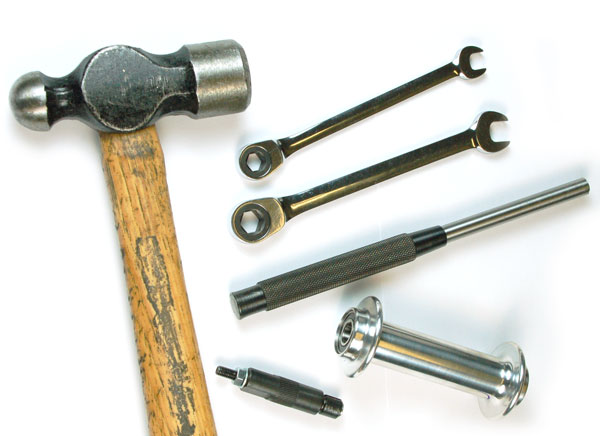
Step 1
To remove sealed bearings you will need the correct size extractor, 8mm, 13mm, 17mm open or box end wrench, 10mm, 15mm, 19mm and 1″ open end wrench, hammer and punch.
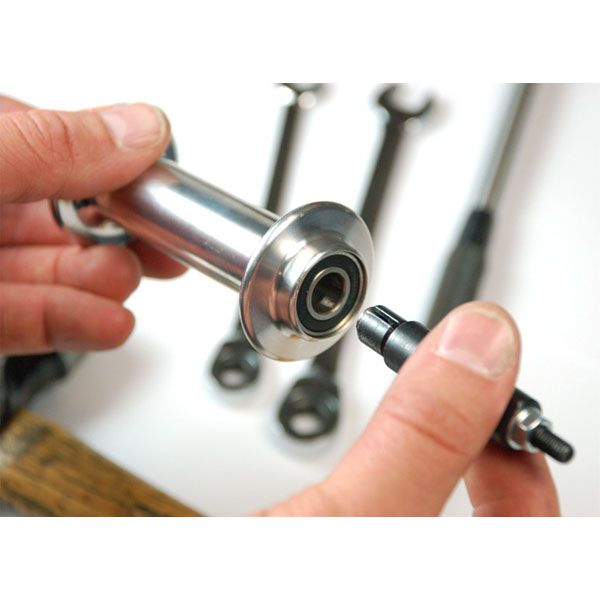
Step 2
The correct size extractor will fit snugly into the inner diameter (I.D.) of the sealed bearing you wish to extract.
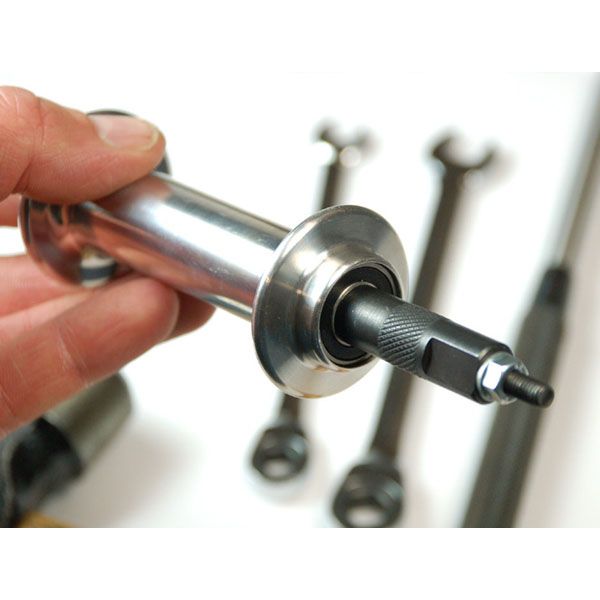
Step 3
Place extractor into I.D. of sealed bearing until it seats flush with the shoulder of the extractor.
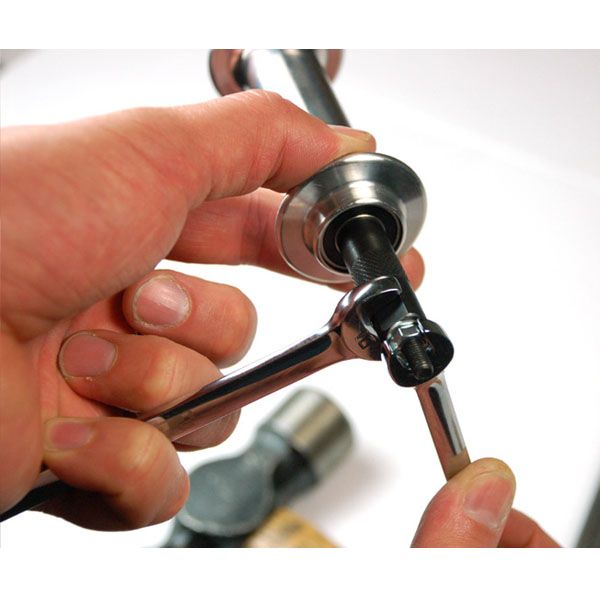
Step 4
Tighten nut with wrench while securing extractor with other wrench. Tighten nut until the extractor is firmly in place within the i.d. of the sealed bearing.
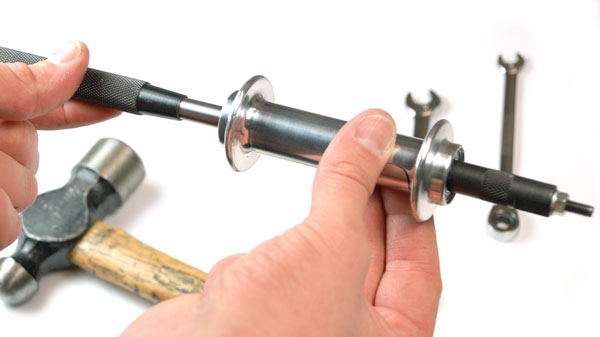
Step 5
Once the extractor is secured, align a punch with back side of the extractor.
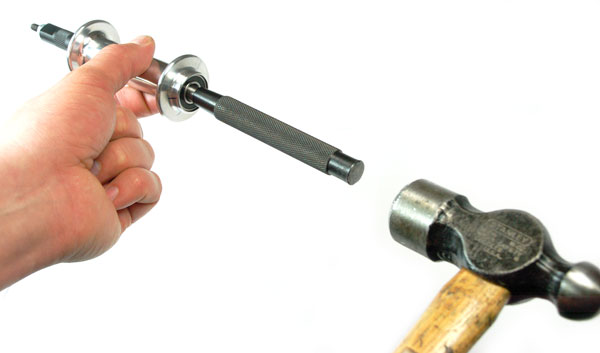
Step 6
Gently tap on the punch until bearing is removed along with the extractor.

Step 7
The bearing is now removed. Install new sealed bearings with a Wheels Mfg bearing press